
Ghost Shapes and Alcohol Ink Technique by Holly
Ghost Shapes and Letters have been popular for some time however, have you ever gotten tired of the “same ole same ole” when altering them and making them your own? Try using Tim Holtz Adirondack Alcohol Inks to create a special ghost item all your own.
Alcohol Inks dry very quickly and being fully prepared prior to beginning is a must.**USE ONLY IN A WELL VENTILATED AREA**First cover your work area thoroughly (I use a double layer - one plastic and one cardstock) and wear rubber gloves if this is your first try at using them. (your fingernails will absorb the colors and other than making a fashion statement with the new trendy “tie died” nails…you will be wearing the inks for a while-these inks take weeks to wear off!!!
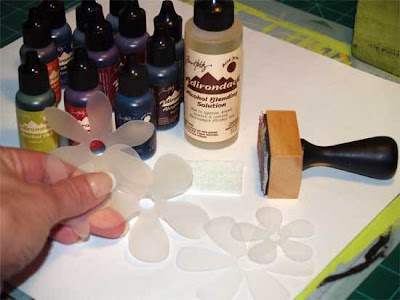
Lay out your supplies and again be ready before beginning
SuppliesAdirondack Inks (two or three colors at least)
Alcohol Inks dry very quickly and being fully prepared prior to beginning is a must.**USE ONLY IN A WELL VENTILATED AREA**First cover your work area thoroughly (I use a double layer - one plastic and one cardstock) and wear rubber gloves if this is your first try at using them. (your fingernails will absorb the colors and other than making a fashion statement with the new trendy “tie died” nails…you will be wearing the inks for a while-these inks take weeks to wear off!!!
Lay out your supplies and again be ready before beginning
SuppliesAdirondack Inks (two or three colors at least)
Adirondack Blending Solution
Applicator
Applicator pad
Ghost shapes and/or Alphas (I used Maya Road)
 Attach a NEW CLEAN pad to the applicator handle. (Please note this handle is not a necessity but after several projects without it…..I find it a MUST HAVE!) If you choose to try this without the applicator handle, bundle up some felt(a thick bundle) and use-WEAR GLOVES!
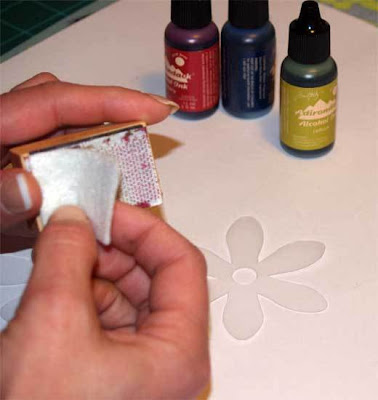
Next, Open all the bottles you are planning to use……again the AI’s dry so fast, you must work quickly and caps slow you down. Start with your first select color and apply a small amount to the applicator pad.
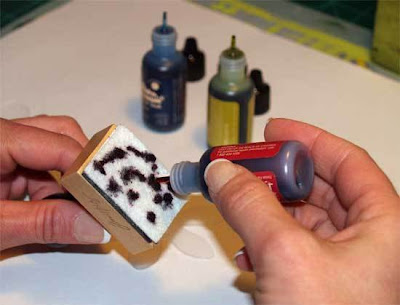 Pat the pad across your ghost image leaving some bare spots.
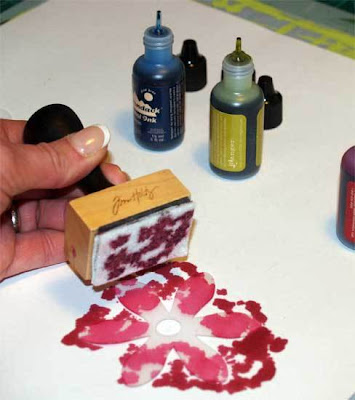 Using the blending solution, dribble a few dots over the ghost image.(notice the fun effects you get!)
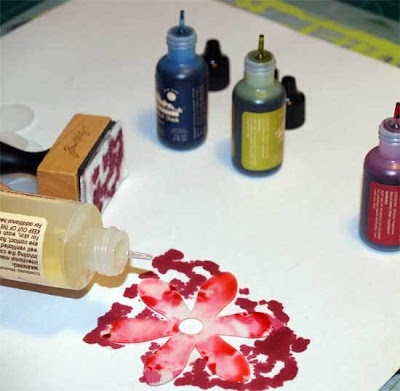
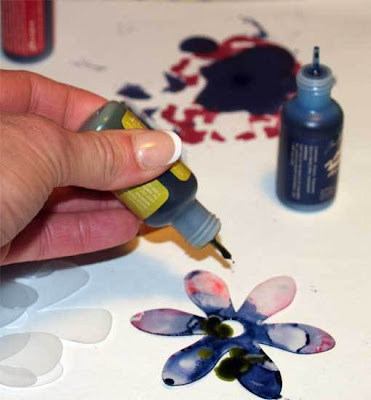
While the Blending solution is wet and puddled add a second and third color of AI's to your image.
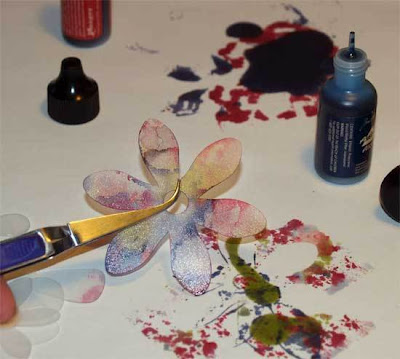
You should use the applicator to remove excess ink if needed. Apply additional color if you want and try some experiments adding blending solution.Use tweezers to handle the image until thoroughly dry.
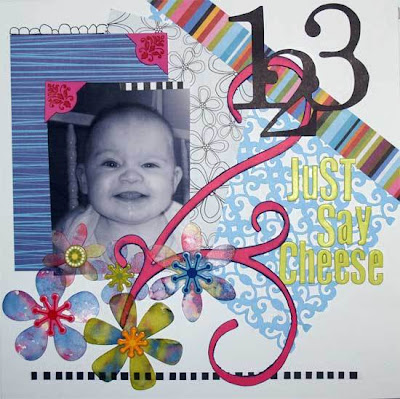
Apply the images to you project and enjoy the fact you have created a very individualized ghost shape!!!
Thank you very much Holly for sharing this great project with us. You have earned a ballot for the monthly draw which I will post the winner for tomorrow once my girls wake up.
NOW... Challenge time!! I would love to see you girls try this awesome technique. For eveyone who does and sends me thier project, they will recieve a ballot for the new draw that begins..... NOW!! Email them to me at: thynner5@yahoo.ca and put "Scrapdango Blog Challenge #10" in the subject line.
If you have any tips, techniques or tutorials you would like to share you can email them to me. You will recieve a ballot each time you send something in.
~Tara~


3 comments:
That is so cool, but I don't have any of those inks LOL
I have never tried AI's but I think you have teased me enough that I have to give it a try! Thanks!
This is SOOOOOOOO cool!!! I have both AIs AND ghost letters and flowers! Can't wait to try this out!
Post a Comment