
Happy Wednesday to you!
Have you ever gone on a trip and have more photos than you know what to do with? You've already scrapped an album worth of pages and maybe even made a mini album, too, but you still have TONS of photos that you still didn't use. What do you do with them? Pack them away? Well today I have a fun tutorial on how to make your own envelope that is perfect for your friends and family or to store those extra photos.
Supplies:

You can use any envelope as a template or create you own. Please note: I practiced on a piece of cardstock and then recreated the final project out of a different piece in case you were wondering why the colors are different.

By using a pre-made envelope that just peals apart, all you need to do is scor directly over the folded lines. My Scor Pal is always on my desk because I use it on almost every project.

Now fold:

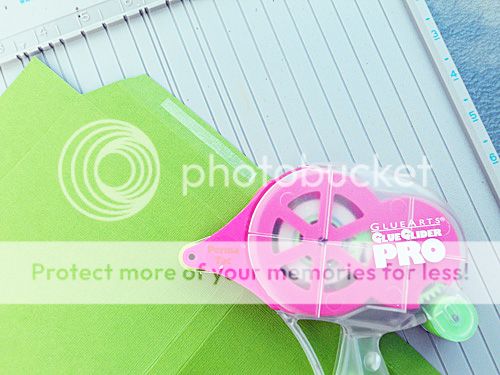
And add your adhesive:
And you have an envelope!
Here are some photos of the finished product. I used Basic Grey Core Impressions cardstock from Core'dinations. The flap was a little short so just add some additional pieces of cardstock or patterned paper.

Embellish with your favorite Basic Grey Cardstock stickers and use brads for closures:

Here is a close-up of the scoring and folding:

And look how many photos it can hold!


2 comments:
Wow, what an awesome tutorial. Love that envelope.
What a great idea! I love it!
Post a Comment